Level 2, lesson 3 of 5 · 3 min
Printing labels in EasyConsign
The print list, a roll or sticker sheets, and a test sheet before you print for real.
In level 1 you saw how labels work. Now you print them for real, from EasyConsign.
The print list
Every item you save with Save and print barcode goes on the print list. You can also put an item on the list later, with Add to print list in the item list.
Go to Barcode labels > Print items. There you see the list and a preview of the labels. Click the print button. After printing the items come off the list, so you don't print them twice.
Choose once how you print
The first time you choose how you print:
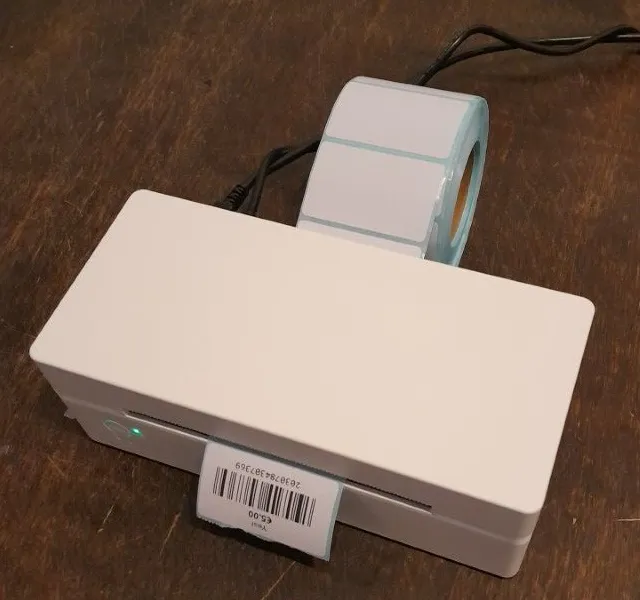
- Thermal roll (recommended): fill in the size of the labels on your roll. The labels always line up, and you never have to choose where to start.
- Sheets: look up your sticker sheet by brand and number, for example Avery L7654. The number is on the package.
EasyConsign remembers your choice for your shop.
A sheet that's partly used
You don't always print a full sheet. With a sheet that's partly used, click the first free label in the preview. EasyConsign starts there and remembers where you left off.
A test sheet first
Not every printer is exact to the millimeter. The first time, print on a plain sheet of paper. Hold it against a sticker sheet and check that the barcodes land on the stickers. If it fits, print on the real stickers.
Still sliding off? Check that the scale in the print window is set to 100% or Actual size.
Want to know more?
The help center shows exactly which buttons to use.
Read the guide: Printing barcode labels