Level 2, lesson 1 of 5 · 3 min
Setting up your shop
Creating an account, filling in your shop details and adding yourself as an employee.
From here on the course is about EasyConsign itself. You start with an account and a shop. That takes a few minutes.
An account and a trial
You create an account with your email address. Then you get 30 days to try everything, with 1 shop and up to 100 items. You don't pay anything yet and don't need to enter payment details.
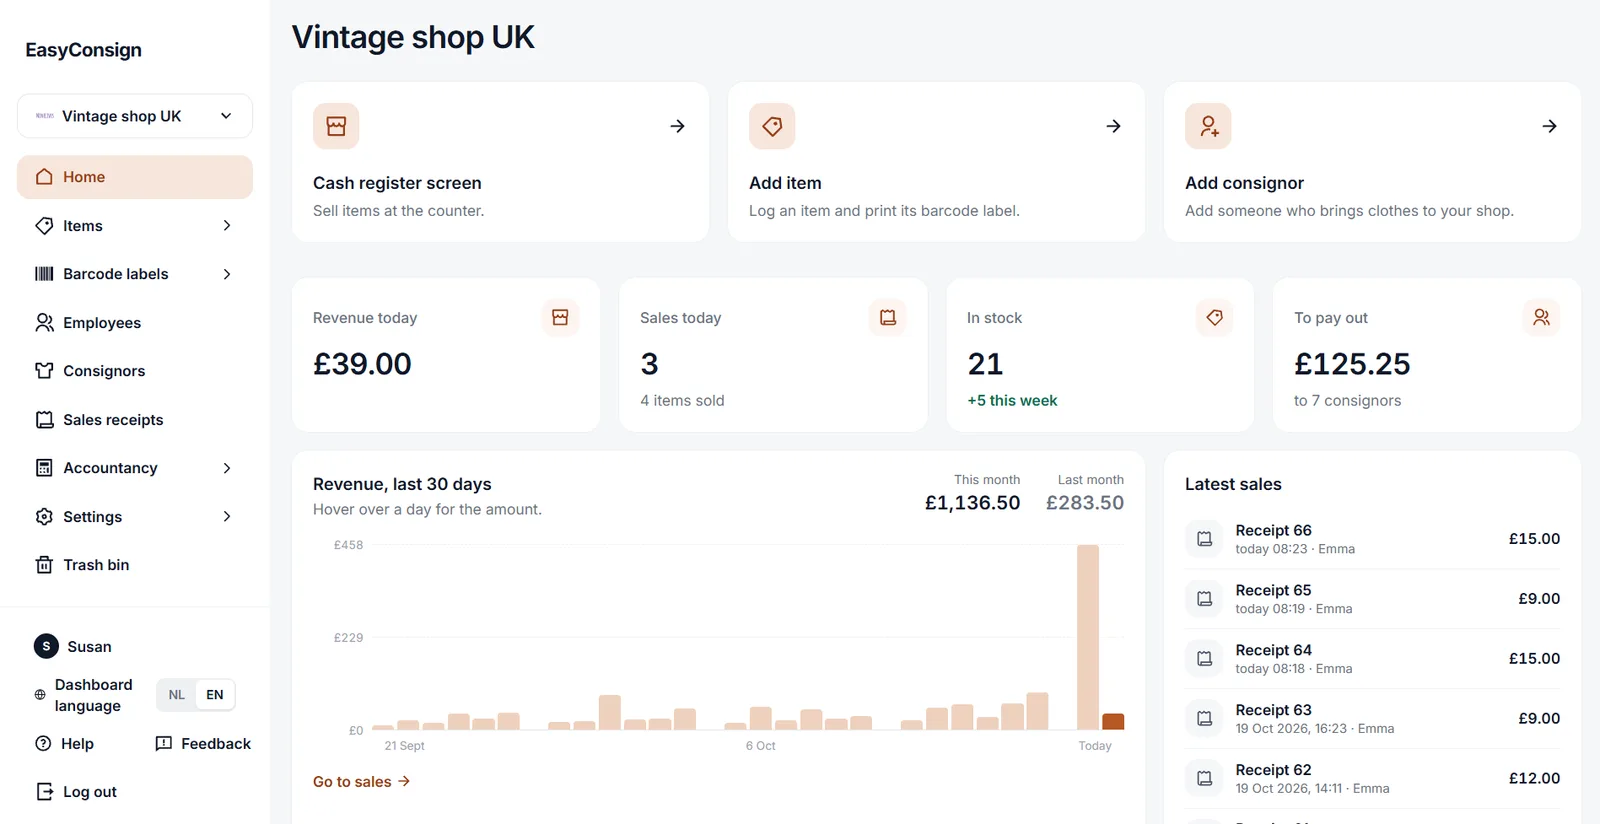
After logging in you land in the dashboard. That's the part of EasyConsign where you run your shop: items, consignors, sales and your settings. The menu is on the left.
Your shop details
Go to Settings > Shop. Fill in your address and add your logo. They go at the top of every receipt.
Choose your shop language there too. Customers get their receipt and consignors their emails in that language. That's separate from the language you see the dashboard in: you pick that yourself, at the bottom of the menu.
Adding yourself as an employee
At the register you log in with your name and a register code of 4 digits. That goes for everyone who sells, you as the owner too. That way every receipt shows who rang it up.
Do you work behind the counter yourself? Then add yourself under Employees and choose a register code. Do you have staff? Add them too, each with their own code.
Want to know more?
The help center shows exactly which buttons to use.
Read the guide: Getting started with EasyConsign